Here you will find how to create a Group, enroll users, and how to assign courses.
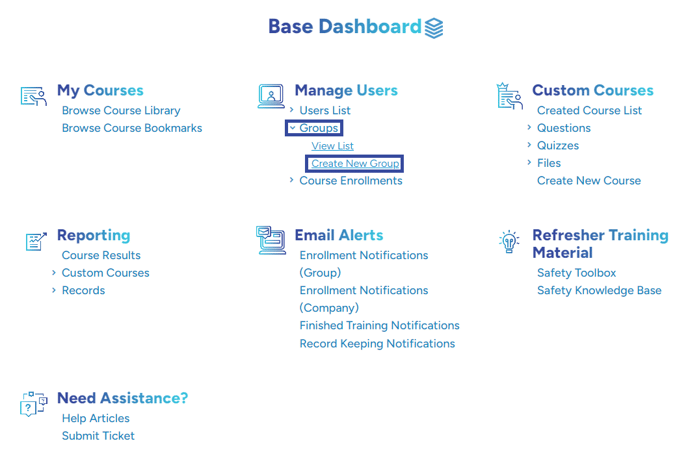
1. Start on your Dashboard and look under Manage Users, select Groups drop-down, then select Create New Group.
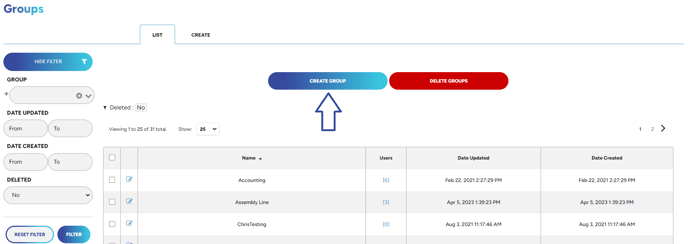
2. Then select the Create Group button
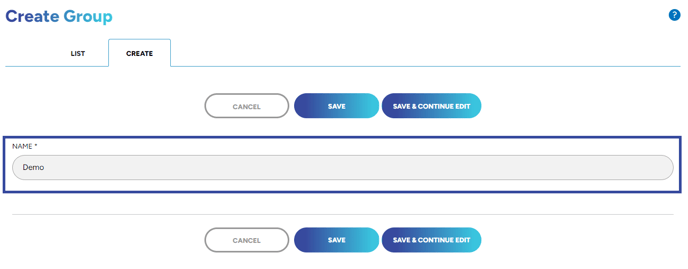
3. You can now name your new Group. After doing so select Save & Continue Edit. If you select just Save it will take you back to your list of Groups. You can still edit and add users from that point but Save & Continue Edit will allow you to finalize your Group in one go.
4. Your Group will then be created and from this screen, you can rename the group, delete it, and add users and courses.
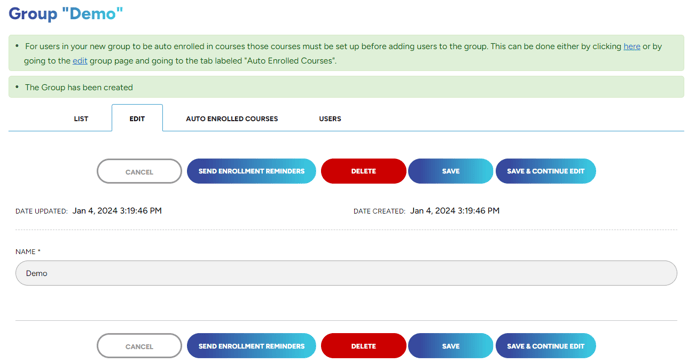
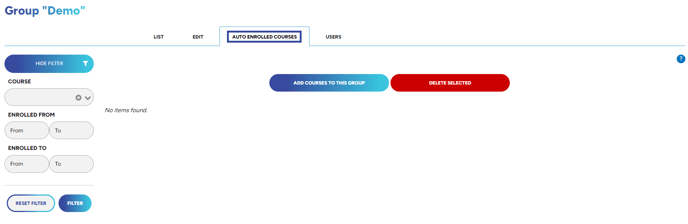
5. To add Enrollments click the Auto Enrolled Courses tab and then select the green Add Courses To This Group button. Please note: you will want to do this step before adding in any users so that those users automatically receive those courses upon being added. If you add the users first and then add the courses, you'll have to manually add the enrollments to the users and it will not be done for you automatically.
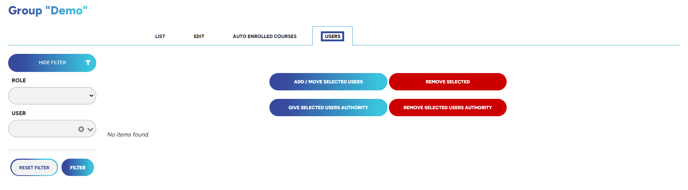
6. Lastly, to add users click on the Users tab and then select the green Add Users button.
Need to know how to create a user? Check out this article HERE!
"If you need further assistance after reading this article, please submit a ticket HERE and someone from our team will assist you soon!"